How to Set Automatic Shutdown in Windows 11
Below we shared all the methods on how to schedule auto shutdown in Windows 11.
1 How to Set Automatic Shutdown in Windows 111.1 Schedule Shutdown In Windows 112 Final Words
Schedule Shutdown In Windows 11
You can use the task scheduler to schedule shutdown in Windows 11. To schedule shutdown in Windows 11, follow the steps given below-
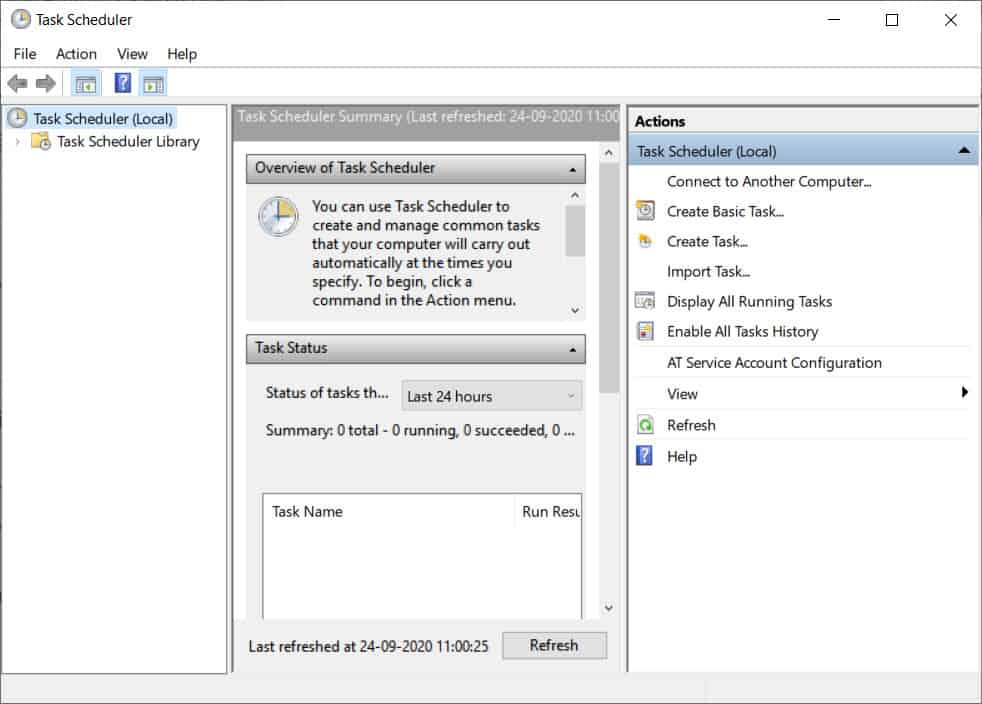
Open the Start Menu by pressing the Windows key and then search for Task Scheduler in the Start Menu. Hit Enter to open the Task Scheduler. On the left sidebar of the Task Scheduler app window, click on Task Scheduler Library.
Now on the right-sidebar, click on Create Task. On the new window that opens up, head to the General tab.Enter the name in the field you are asked to. You can enter any name as per your choice. For instance, you can enter the name as Shutdown computer at midnight (or any other time). Similarly, enter the description in the given field. Enter the descriptions which tell about the task scheduled.Next, select the Run whether user is logged on or not option, and then check the checkbox saying Run with highest privileges. Click on the drop-down menu next to the Configure for and select Windows 10 from the list.
After doing so, head to the Triggers tab in the Create Task app window. Here, click on the New button.
Click on the drop-down menu next to the Begin the task and select the On a schedule option.Next, select the Daily option on the left sidebar and then select the Start date and time. For instance, you can set the time as midnight, and the task to recur every day.Next, check the checkbox saying Enabled. After doing so, click on OK.
Now, head to the Actions tab, and then click on the New button.Click on the drop-down menu next to the Action tab, and then select the Start a program option.
Click on the empty field under the Program/script and then type Shutdown.exe.Next, click on the empty field next to the Add arguments option and type /s /t 60 “Computer will shutdown in 60 seconds” and click on OK to save the settings.
Next, head to the Conditions tab. Here, uncheck the checkbox saying Start the task only if the computer is on AC power, and then check the checkbox saying Wake the computer to run this task. Click on OK to save the changes.
Once you are done, you will be asked to enter the user name and the password of the account here. Once done, click on OK. After you are done with it, a new task will be created and you will find it in the Task Scheduler app window.
Now the task has been scheduled, your PC will automatically shutdown as per the time you have set. RELATED:
How To Fix Windows 11 Taskbar Crashing After UpdateFix Random Restart Problems In Windows 11Fix Msvcr110.dll Missing Errors In Windows 11How To Fix Memory Leak In Windows 11Download WhatsApp for Windows 11 PC Latest Version FreeHow To Repair Windows 11 Easily
Final Words
This is how you can schedule a shutdown in Windows 11. You can schedule shutting down your PC if you don’t want to do it while you work. Following the above steps mentioned in this article, you can schedule shutdown in Windows 11.
Δ


