With Windows 11 performance modifications, there are a few basic techniques to speed up Windows 11, make it faster, and optimize its performance for active use.
1 Ways to Speed Up Windows 11 1.1 Turn Off Visual Effects: Speed Up Computer 1.2 Disable Startup Apps: Make Windows 11 Faster 1.3 Disable Startup Programs1.4 Turn On Storage Sense1.5 Remove Temporary Files1.6 Remove Unwanted Files Manually1.7 Uninstall Unwanted Programs: Optimize Windows 11 1.8 Final Words
Turn Off Visual Effects: Speed Up Computer
Visual effects affect the memory usage as well as the performance of your PC. If you find your computer to be slow and want to optimize Windows 11, you can prefer turning off visual effects. To disable/turn off visual effects in Windows 11, follow the steps given below-
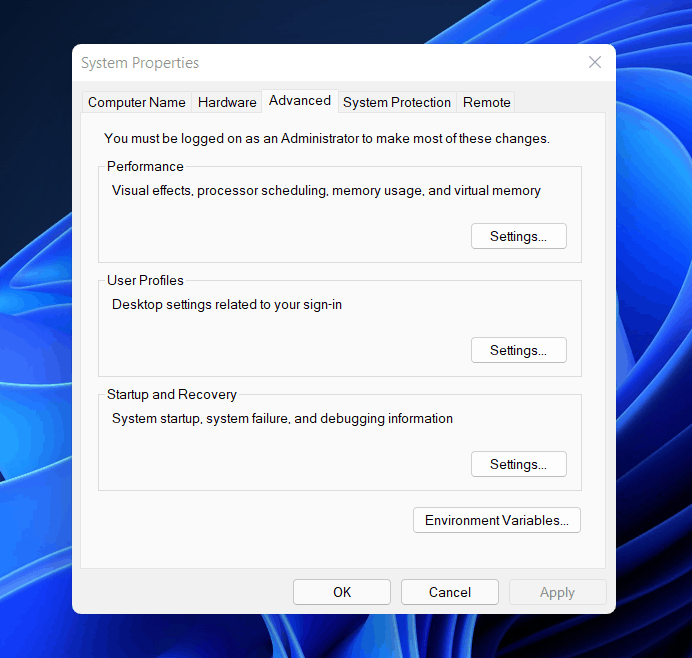
Open the start menu and then search for view advanced system settings and open it.You will be headed to the advanced tab in the system properties. Under the performance section, click on settings.
Now you will see four options- Let Windows choose what’s best for my computer, adjust for best appearance, adjust for best performance, and custom. To optimize Windows 11 and speed it up, select Adjust for the best performance option.You can either select custom and then check the Show thumbnails instead of icons and smooth edges of screen fonts options. Once done, click on Apply.
Your PC’s visual effects will be reduced, and it will be more tuned for improved performance.
Disable Startup Apps: Make Windows 11 Faster
The very next thing that you can do is disable startup apps. Some apps start automatically when you boot into Windows. You can disable these startup apps to optimize Windows 11 and speed it up.
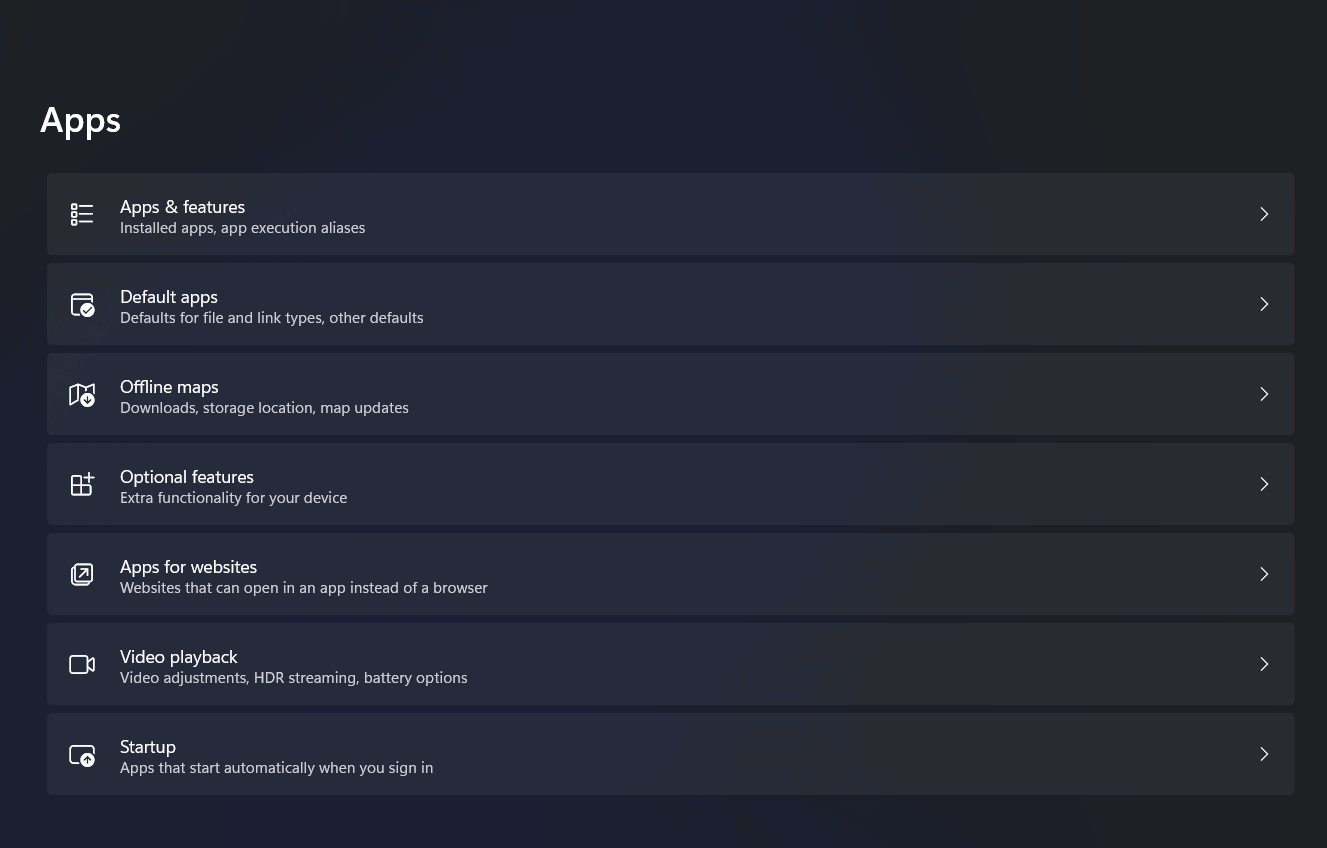
To disable startup apps, head to the settings of your PC, and then click on Apps on the left sidebar.In the apps section, click on startup.
You will see a list of startup apps. You can manually disable them or enable them by click on the toggle right next to each app.
Disable Startup Programs
Like startup apps, there are startup programs that you can disable to optimize Windows for better performance. To disable the startup programs, follow the steps given below-
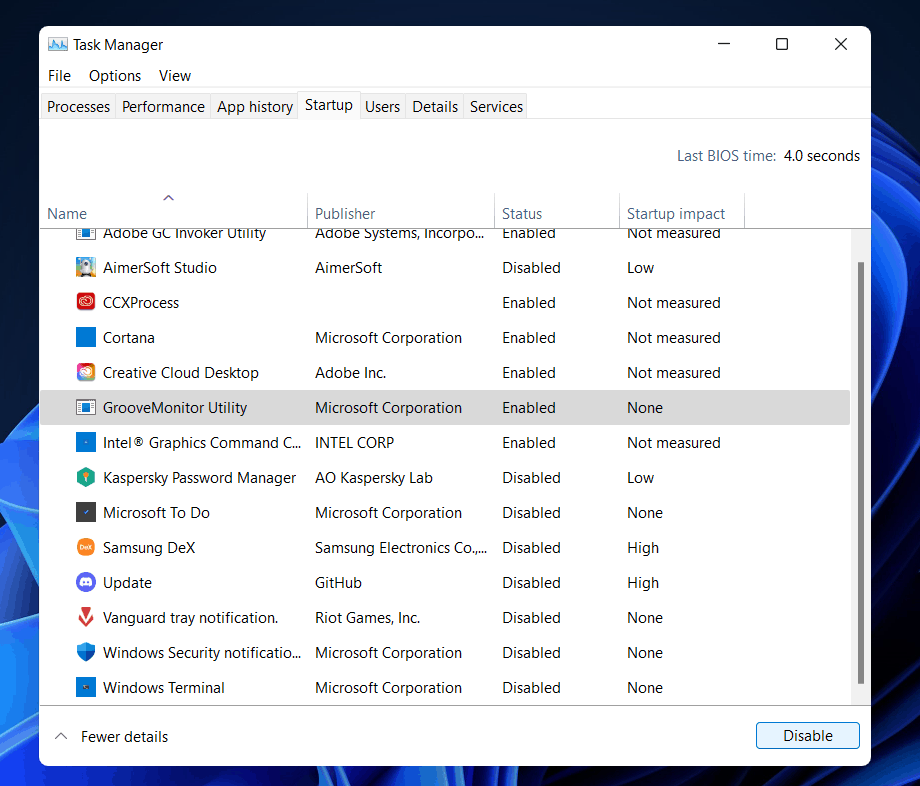
In the start menu, search for task manager and open it.Head to the startup tab in the task manager. A list of startup programs will appear. You can see which apps are active or disabled, as well as their startup impact, and you can disable any apps that have a large startup impact. To do so, first select the program you wish to turn off, and then click the disable option in the lower right corner.
Turn On Storage Sense
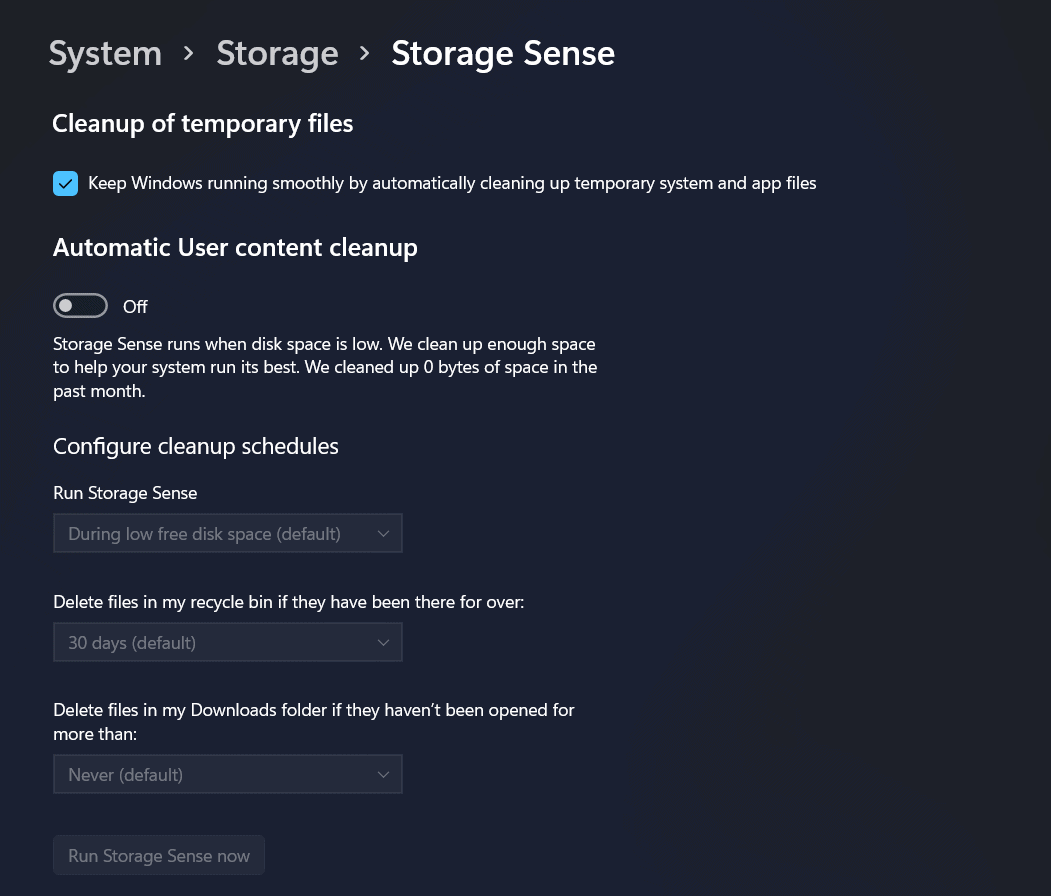
Storage sense is a feature that was there in Windows 10. Using this feature, your system will monitor the storage of your computer. It will then free up the storage by deleting the unwanted files from your system automatically. Unwanted files may include temporary system files, items in recycle bin, and various others. Given below are the steps to help you turn on storage sense-
Press Windows + I combo on your keyboard to open settings. In the settings, head to the system section from the left sidebar.Click on the storage. Turn on the Storage sense toggle.
You can set up the automatic user content cleanup. You can set up how you want to run it and what you want it to delete.
Remove Temporary Files
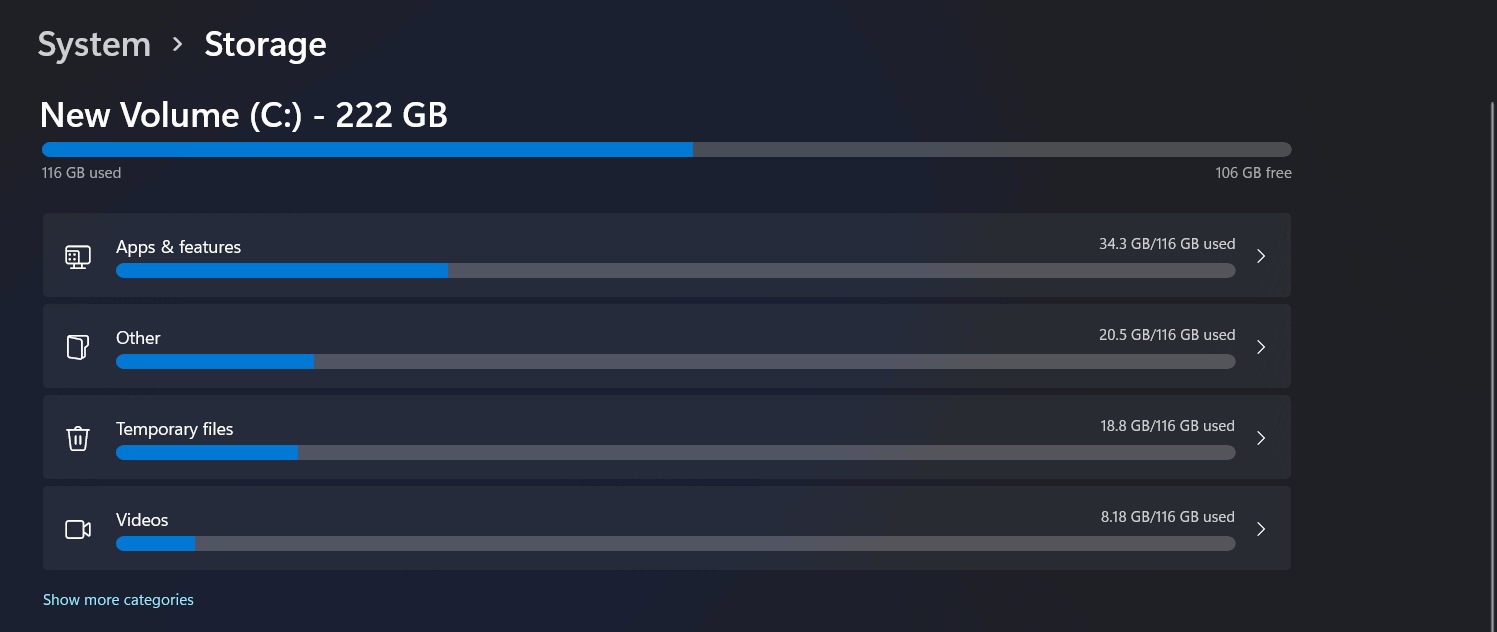
Temporary files on your computer can slow it down as well. Downloads, thumbnails, cache, update logs, feedback diagnostics, delivery optimization files, prior version files, temporary internet files, and so on are examples of temporary files. You may optimize Windows 11 for faster performance by deleting temporary files. Follow the steps outlined below to do so.
Open the settings from the start menu.In the system section, click on storage.
Click on temporary files. Select the files that you want to delete, such as downloads, thumbnails, recycle bin files, and various others.
After selecting the files, click on remove files.
This will remove temporary files/data from your PC.
Remove Unwanted Files Manually
We have already discussed how you can remove temporary files from your PC, but that’s just a small segment of the files stored on your PC. However, removing unwanted files can help optimize Windows 11 and make it snappier than before. Remove the files that you no longer use or access and are occupying your storage.
Uninstall Unwanted Programs: Optimize Windows 11
The next thing that you can do is uninstall the unwanted programs from your PC. If you have a program installed on your PC that you no longer use, you can prefer uninstalling it. Unnecessary programs have background processes running. These background processes occupy your RAM as well as your CPU performance, thus slowing down your computer. If you have any program on your PC that you no longer use, then uninstall it. READ MORE:
Windows 11 Refresh Option Missing? How to Get BackHow to Fix Windows 11 Not Detecting Second MonitorHow To Repair Windows 11 Easily
Final Words
These were some tips on how to make Windows 11 run faster and more efficiently. These methods will undoubtedly assist you in speeding up and optimizing your computer for improved performance. We hope you found this article to be informative.
Δ